React는 실무에서 사용해보지 않았다. 개인 프로젝트에서만 사용해본 정도.
React 개발환경 구성하기
Create React App 이용하기
필요한 의존 모듈을 일일이 설치할 수 있지만, Create React App을 이용하면 설치도 간편할뿐더러 Create React App이 각종 의존 모듈의 버전을 관리해주고, 이슈들을 해결해주기 때문에 지속적으로 케어를 받을 수 있다.
Create React App은 명령어 도구라서 처음 프로젝트 생성에만 필요하기 때문에 설치하지 않아도 된다:
npx create-react-app my-app
ESLint 구성
Create React App으로 설치하면 eslint가 이미 존재하기 때문에 별도로 설치할 필요가 없다. 심지어 React 환경에 맞는 eslint 플러그인도 설치되어 있다. 하지만 아주 관대한 규칙만 사용하기 때문에, 다른 Rule을 따를 필요가 있다. 가장 유명한 것으로 eslint-config-airbnb가 있다.
npm install -D eslint-config-airbnb
설치 후 package.json의 eslintConfig를 제거하고,
// package.json
  "eslintConfig": {
    "extends": "airbnb"
  },
프로젝트 루트에 .eslintrc을 생성한다:
// .eslintrc
{
  "extends": "airbnb",
  "rules": {
      "react/prefer-stateless-function": 0,
      "react/jsx-filename-extension": 0,
      "react/jsx-one-expression-per-line": 0
  },
  "env": {
      "browser": true
  },
  "parser": "babel-eslint"
}
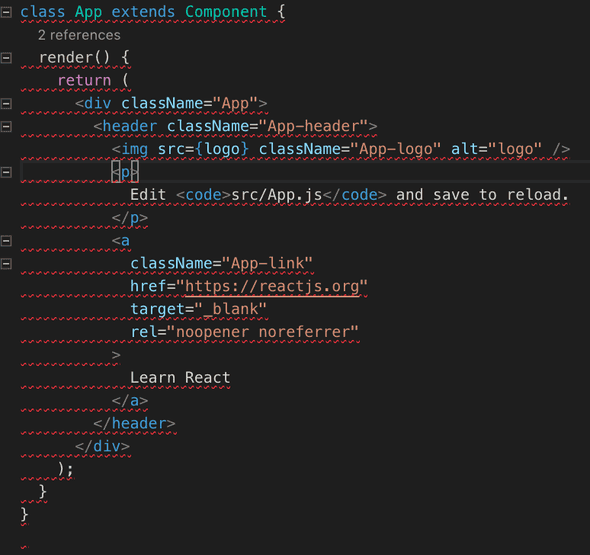
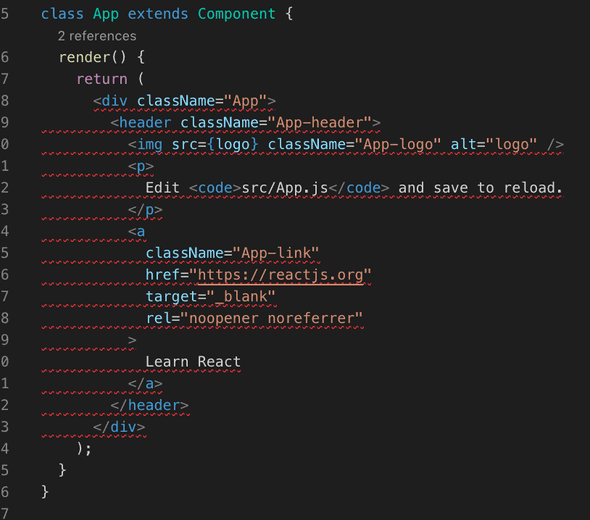
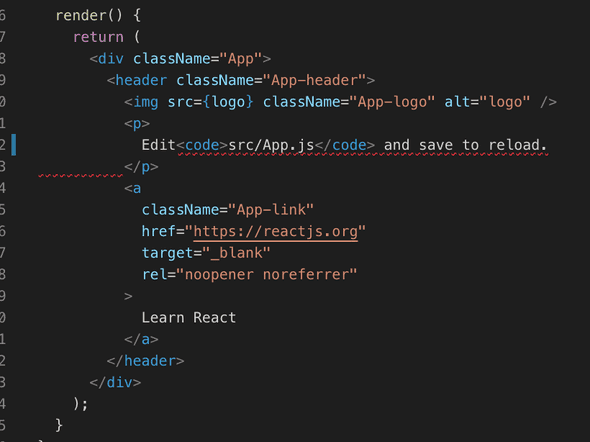
여기까지 적용하고, 아무 소스코드나 열어서 (예를 들면 App.js) 빈 라인을 몇 줄 추가해서 linter가 제대로 잡으면 된다.
그리고 기존 airbnb 규칙에 3가지 규칙을 추가했는데, 그대로 사용하면 너무 불편하기 때문이다.
react/prefer-stateless-function
Class 형식의 리액트 컴포넌트 대신 함수형 방식을 사용하도록 하는 옵션인데, 클래스가 편한 입장에서 Off 하였다.
react/jsx-filename-extension
JSX 문법을 사용하기 위해서 .jsx 확장자만 허용하도록 하는 옵션인데, 마찬가지로 불편한 이유로 Off 했다.
react/jsx-one-expression-per-line
한 라인에 여러 표현식을 금지하는 것인데, 마찬가지로 불편하다.
prop-types 사용하기
여러 개의 컴포넌트를 작성하다가 props로 데이터를 넘기다 보면 eslint로 인해 결국 자연스럽게 설치하게 된다.
컴포넌트에서 props의 속성에 접근하려고 하면 미리 정의되지 않았다고 linter가 잡아낸다.
MyComponent.propTypes = {
  myProp: PropTypes.bool
};
이런 식으로 props로 받는 데이터는 미리 타입을 정의해야 한다. 그러면 코딩 단계에서 여러 가지 도움을 얻을 수 있고, 잘못된 타입을 건네주면 런타임 때 잡아 내준다.
자세한 사용 방식은 https://www.npmjs.com/package/prop-types 에서 얻을 수 있다.
React 뒤로가기 시 비동기로 가져온 데이터 유지하기
예제: https://github.com/Edunga1/react-history-back-example
핵심은 비동기로 데이터를 가져오고 상태를 업데이트 할 때마다 적당한 곳에도 데이터를 저장하는 것이다.
그리고 componentDidMount()에서 적당한 곳에 저장한 데이터가 있는지 보고, 있으면 가져온다.
import React, { Component } from 'react';
import ReactRouterPropTypes from 'react-router-prop-types';
import storage from './storage/storage';

export default class List extends Component {
  state = {
    index: 0,
    items: [],
  }

  componentDidMount() {
    const { history, location } = this.props;
    if (!location.state) {
      this.update();
    } else {
      this.setState({ ...location.state });
      history.replace(undefined, undefined);
    }
  }


  update() {
    const { index, items } = this.state;
    const { history } = this.props;

    storage(index).then((res) => {
      this.setState({
        index: res.next,
        items: items.concat(res.pokemons),
      }, () => {
        history.replace(undefined, { ...this.state });
      });
    });
  }

  render() {
    const { items } = this.state;
    return (
      <div>
        <input
          type="button"
          style={{ position: 'fixed', right: '10%', top: '25%' }}
          onClick={() => this.update()}
          value="Fetch!!!!!!!!"
        />
        {
          items.map(x => (
            <a key={x} href={`./what?q=${x}`}>
              <div>
                {x}
              </div>
            </a>
          ))
        }
      </div>
    );
  }
}

List.propTypes = {
  history: ReactRouterPropTypes.history.isRequired,
  location: ReactRouterPropTypes.location.isRequired,
};
적당한 곳이라면 History, Storage(Local, Session), Redux가 있다. Storage는 Local이라면 다른 탭과 공유되기도 하고, Session이라도 데이터를 serialize 하여 저장하기 때문에 번거롭고, Redux라면 다른 도메인으로 이동한 뒤 돌아오면 유지되지 않을거라 예상된다. 그래서 History를 이용. 더 정석적인 방법이라 생각된다.
위 코드는 react-router의 history를 사용한 것이라 브라우저의 history를 사용하려면
window.history.replaceState()와 같은 것을 사용해야 할 거 같다.
31번 라인에서 history.replace(undefined, undefined) 상태를 초기화하였는데,
초기화하지 않으면 새로고침해도 상태가 유지된다.
초기화 하려면 탭을 닫고 다시 로드하는 수 밖에 없다.
앱 특성에 따라 유지해도 괜찮겠다.


